





























































Homemade sourdough bread: a step-by-step story of five days of patience
From a flour-and-water starter coming to life to a crusty loaf fresh from the oven, every step of making sourdough at home.
Table of contents
Sourdough bread is the product of a relationship built on patience. A simple mix of flour and water turns into a living starter within a few days, thanks to the wild yeasts and lactic acid bacteria in the air and the flour. That starter gives the bread a gentle tang, a crisp crust and an open, airy crumb. In this article we take you through the five-day process day by day, from building a starter from scratch to pulling your first loaf out of the oven. We cover which flour to use, how to tell when the starter is ready, the folding technique and practical ways to create steam in a home oven. Don't give up if your first attempt isn't perfect.
Bringing the starter to life
To start a sourdough starter, mix equal amounts of whole wheat flour and lukewarm water in a jar, cover it loosely and leave it at room temperature. Over the following days, discard half the mixture and feed the rest with fresh flour and water. From the third day on, bubbles and a slightly sour smell begin to appear, a sign that the starter has come to life. During these first days, the smell may change; sometimes it's sharp, sometimes fruity, and that's a natural part of the process.
By the fifth day, a good starter should double in volume within four to six hours of feeding. To check whether it's ready, drop a teaspoon of it into water; if it floats, it's ready for baking. Depending on how warm your kitchen is, the process may take a few days longer. Be patient; rushing will leave you with bread that doesn't rise. Once ready, the starter can be kept in the fridge and fed once a week to keep it alive for years; in many families, a starter is seen as an heirloom handed down through generations.
A sourdough starter is the most patient roommate your kitchen will ever have.
Ethan Brooks
Dough, folding and proofing
For the dough, use white bread flour, a little whole wheat flour, water, salt and active starter. First mix the flour and water and let it rest for half an hour; this step lets the dough begin developing its gluten network on its own. Then add the starter and salt and mix well. The dough will be sticky at first; that's normal, so don't add extra flour. The amount of water the dough needs can vary with the flour: whole wheat flour absorbs more water, so adding the water from the recipe a little at a time is the safer approach.
Over the next few hours, every half hour, lift the dough from the edges and fold it into the middle. This folding replaces kneading and gives the dough strength. When the dough has grown by about half, shape it, place it in a floured proofing basket or a cloth-lined bowl and leave it in the fridge overnight for a slow rise. The slow, cold rise gives the bread a deeper flavor and lets you schedule baking the next morning around your own plans.
Oven, crust and cooling
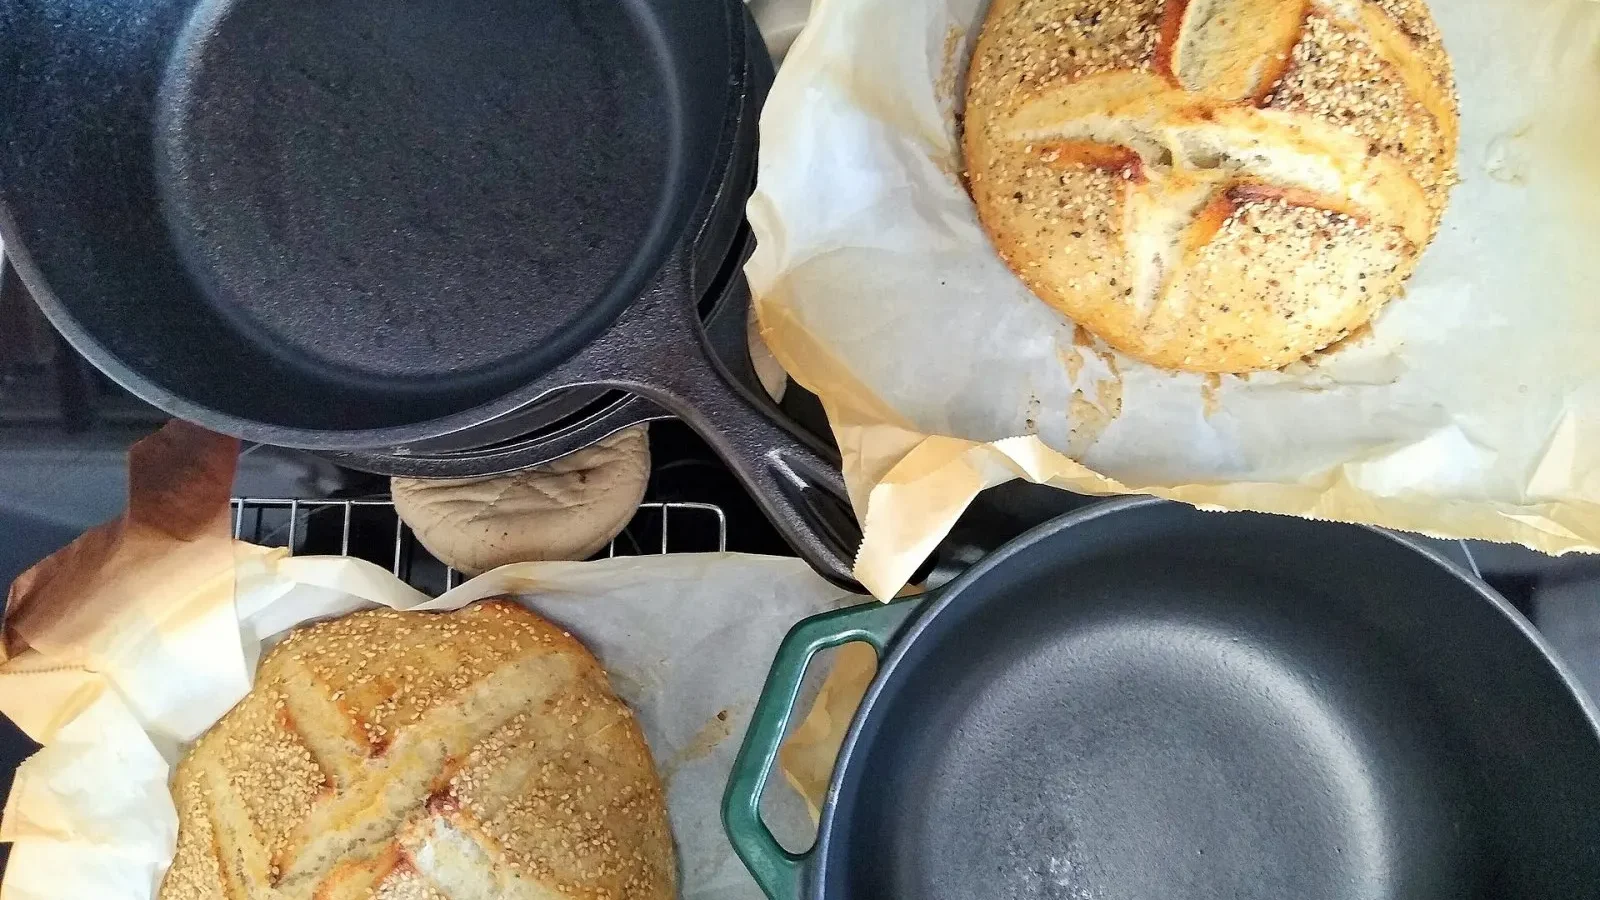
The easiest way to get a crisp crust in a home oven is to use a lidded cast-iron Dutch oven. Heat the pot in the oven at the highest setting, carefully transfer the dough into it, score the top with a sharp blade and put the lid on. The lid traps the steam released by the dough, recreating the steam effect of professional ovens. Scoring isn't just decoration; it lets the bread open up in a controlled way as it bakes and keeps the crust from cracking in random places.
| Topic | Recipes |
|---|---|
| Highlights | bread, sourdough, fermentation |
| Reading time | 9 minutes |
| Written by | Ethan Brooks |
Key takeaways
- A sourdough starter comes to life with regular feeding over five days.
- Folding replaces kneading and gives the dough strength.
- A lidded cast-iron pot gives you a crisp crust in a home oven.
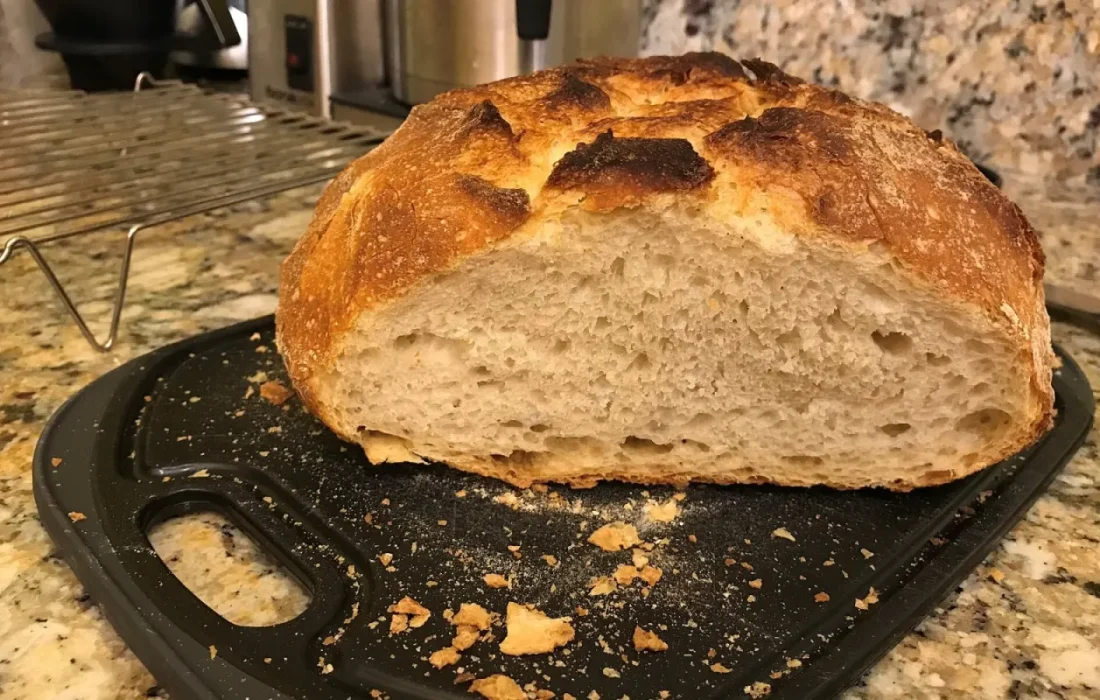
After twenty minutes, remove the lid, lower the heat slightly and keep baking until the crust is a deep golden brown. Don't slice the bread as soon as it comes out of the oven; let it rest on a wire rack for at least an hour. The crumb finishes cooking during that time. Even if your first loaf isn't what you hoped for, you'll get to know your starter and your dough a little better with every attempt. Noting the hydration, rising time and oven temperature each time makes it easier to find the recipe that suits your kitchen and keeps you from repeating mistakes.
What do you think about this post?
Leave a comment