
























































Shooting and editing RAW on a phone: My computer-free mobile workflow
How I edit the frames I shoot in my phone's RAW format on the phone itself, and publish them without ever needing a computer.
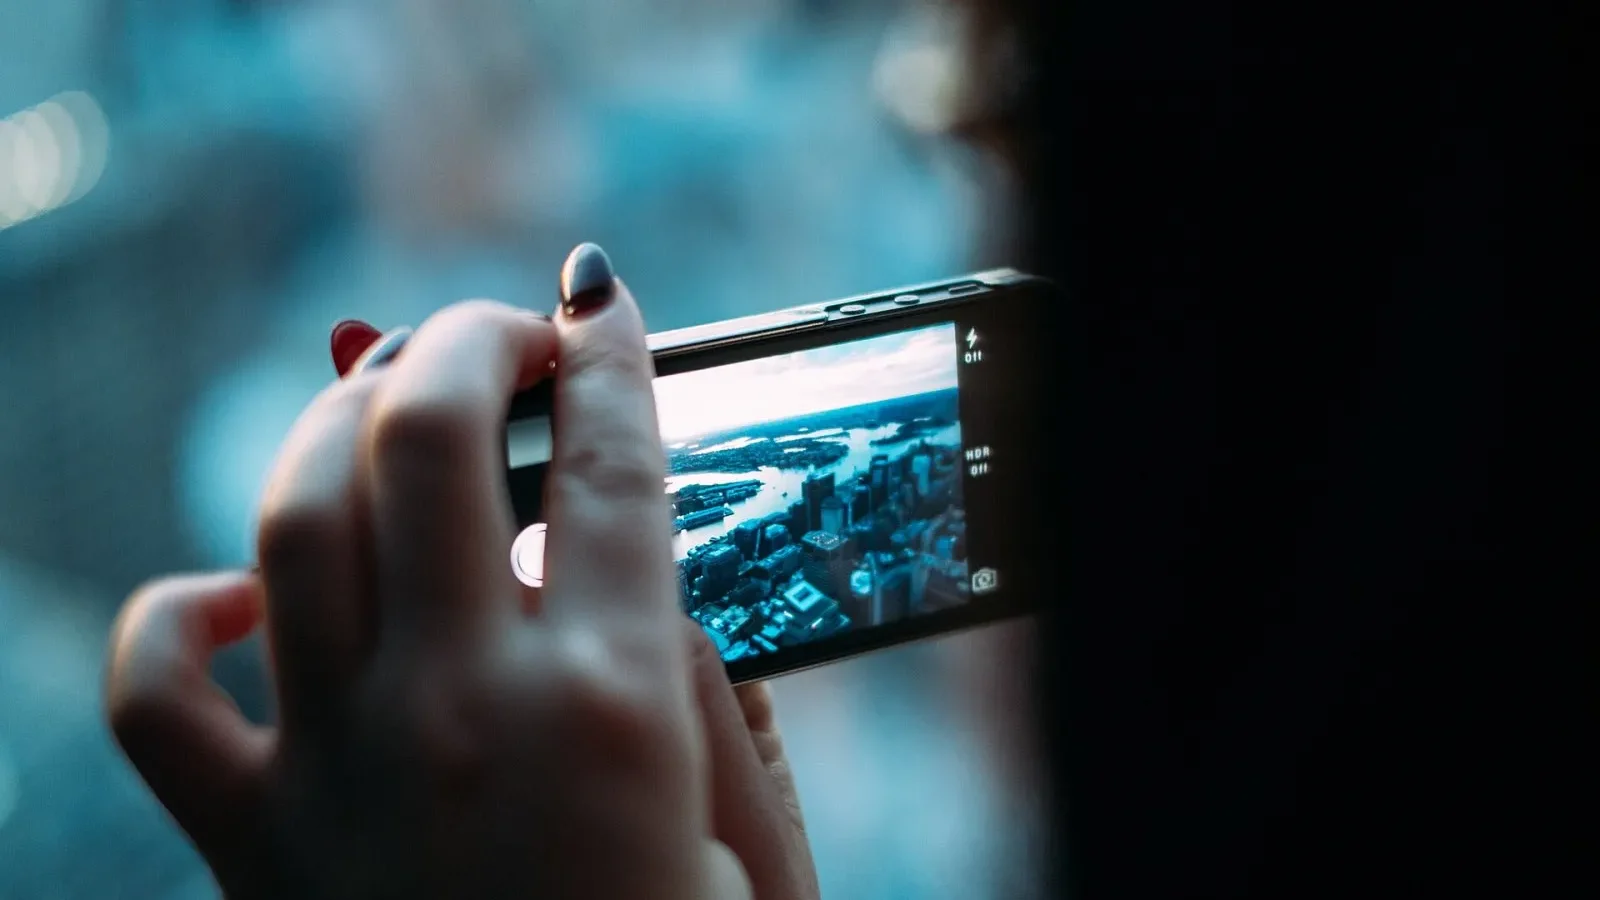
Because I don't want to carry a laptop when I travel, for the past year I've been shooting and editing some of my photos entirely on my phone. The key to this workflow is that the phone can shoot in RAW, giving me plenty of flexibility when editing. In this post I share how I enable RAW capture, which editing steps I apply in what order and how I back up the large files. I hope it's a useful starting point for anyone who wants to produce serious photography with a phone.
In this article
- Turning on RAW and choosing the right app
- Basic steps in mobile editing
- The storage and backup question
Turning on RAW and choosing the right app
To enable RAW capture on a phone, you need to switch the camera app to its pro or manual mode. On some phones, the RAW option is a separate toggle in the settings. Once enabled, every photo is saved as both a processed file and a RAW file, and your storage fills up faster. Free versions often cover most needs, so there's no need to switch to a paid app right away.
Choosing an editing app matters too. There are several mobile apps that support RAW files and whose free versions are good enough. My criteria are white balance and exposure control, local adjustment tools and a detailed color panel. A clean interface reduces fatigue when working on a small screen for long periods and speeds up editing.
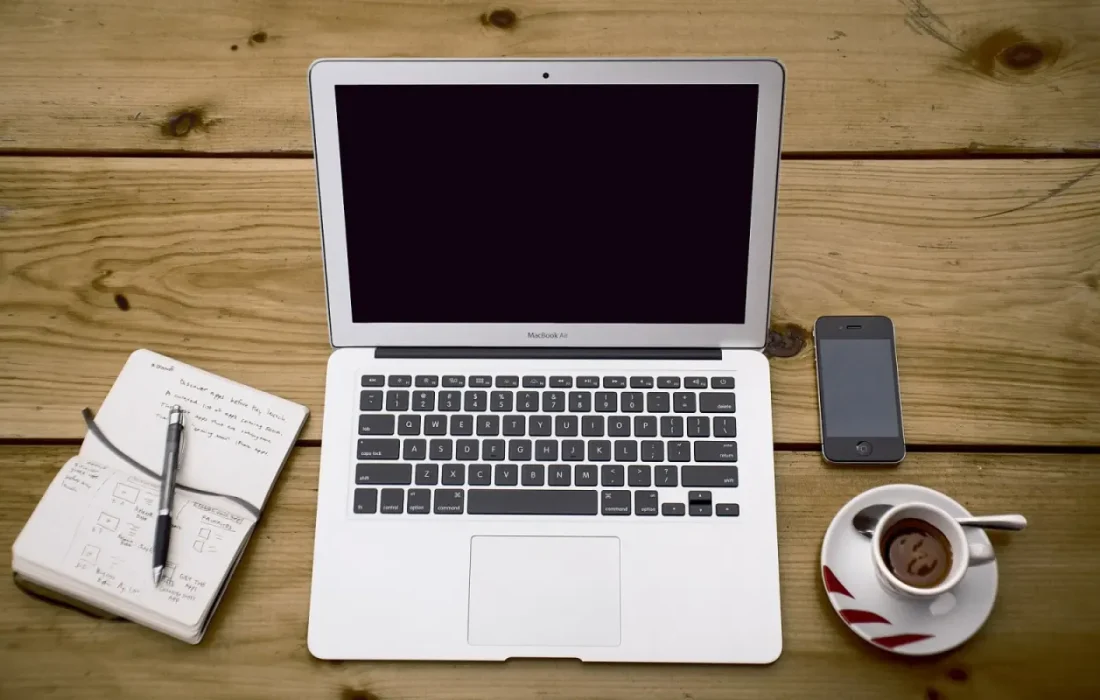
Your phone can be a little darkroom you carry in your pocket.
Jake Morales
Basic steps in mobile editing
The first step in mobile editing is cropping the frame correctly and straightening the horizon. Then I set the image's light balance with exposure, highlights and shadows. I adjust white balance to the atmosphere of the scene: warm for sunsets, a little more neutral for frames shot in the shade. After each step I make sure the screen brightness stays fixed, because changing brightness can easily mislead your color perception and spoil the result.
I leave color and sharpness adjustments for last. I raise vibrance a little and saturation even less. With clarity and detail adjustments, I move in small steps, knowing the phone screen can be misleading. After editing, I let the photo rest for a while and look at it again; the next day our eyes have changed and mistakes are easier to spot.
The storage and backup question
Because RAW files are large, a storage plan is a must. Every evening I turn on automatic cloud backup, and once a week I move old RAW files from the phone to an external drive. When there's no reliable internet on the road, I keep an eye on storage and make sure to delete unnecessary frames. That way, the phone's memory never fills up mid-shoot and makes me miss a critical moment.
| Topic | Mobile Photo |
|---|---|
| Highlights | mobile photography, RAW, editing |
| Reading time | 7 minutes |
| Written by | Jake Morales |
Key takeaways
- Turning on RAW in pro mode adds flexibility when editing.
- In mobile editing, the order that works is crop, light balance, white balance and finally color.
- Automatic backup and a weekly clear-out solve the storage problem of RAW files.
To publish, I export the edited frame from the RAW file to a compressed format. Halving the file size makes a big difference to mobile data use and sharing speed. I add copyright information and, if needed, a watermark from within the app. Thanks to this computer-free workflow, I can shoot, edit and publish on the same day, even while traveling.
What do you think about this post?
Leave a comment