




























































Last spring, at a flea market, I found an old twin-lens medium-format camera inside a dusty box. The seller didn't know whether it worked, so I took a small risk and brought it home. After weeks of cleaning, shutter repairs and light-leak tests, the camera was ready to take photos again. In this post I walk through the repair process step by step and share the frames from the first roll.
In this article
- A lucky flea-market find
- Cleaning, repair and a light-leak test
- Frames from the first roll
A lucky flea-market find
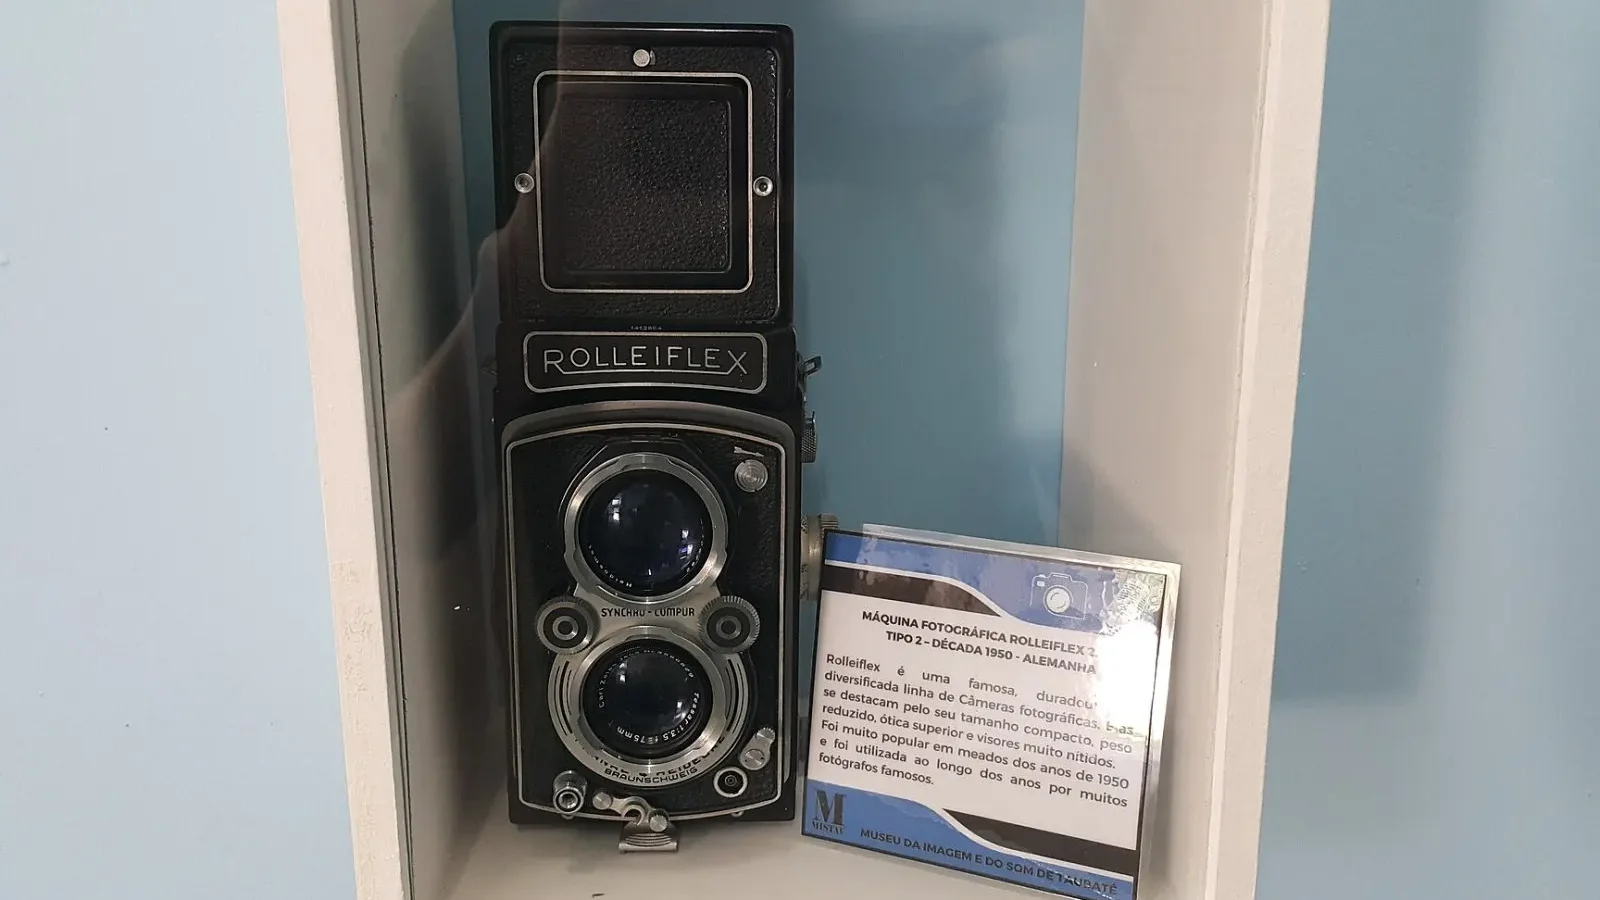
I found the camera at the bottom of a box at a flea market, wrapped in an oily rag. This twin-lens medium-format camera looked like a museum piece from the outside. The seller let it go for a very reasonable price without haggling. When I got it home, my first job was to clean the outside with a soft cloth without damaging the internal mechanism.
Then I began examining the camera in detail. There was cracked leatherette, a rusty latch and a viewing screen full of dust. But beneath its weathered appearance, the lenses were still clean and the aperture ring turned smoothly. These signs said the camera could be saved; it just needed patience and the right materials. Not everything could be repaired, but every flaw also told the story of the camera's past.
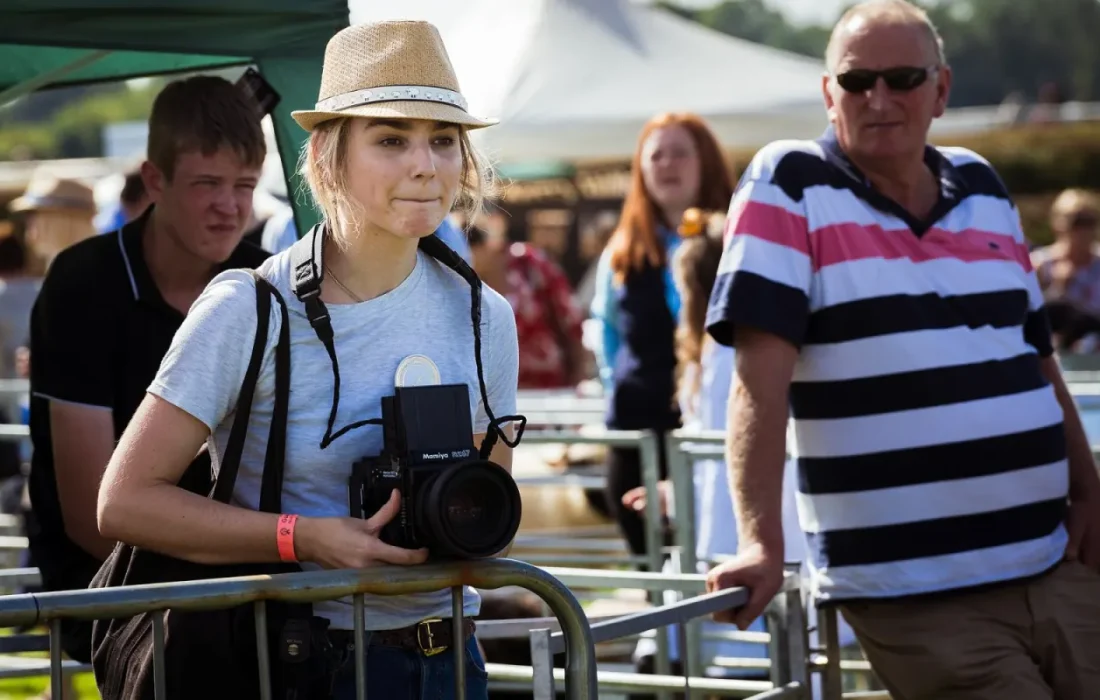
Repairing an old camera is like continuing someone else's unfinished story.
Ethan Brooks
Cleaning, repair and a light-leak test
For cleaning, I used lens cleaning solution, a soft brush and an air blower. I gently wiped the viewing screen and removed the dust inside. The shutter mechanism was clicking unevenly at first; I freed it up with a little light machine oil and plenty of patience. In jobs like this, very little oil is enough; too much can spread into the mechanism and cause problems. This prep work was truly worth it to avoid wasting film later.
The light-leak test was the most important step. Old bellows and leather seals crack over time and let light leak onto the film. In a dark room, I opened the camera and held a powerful flashlight behind it to look for leak points. I sealed two small leaks with special tape and decided to test the first roll on a low-stakes shoot.
Frames from the first roll
The first roll had not sixty frames but twelve; every frame was precious. I shot on an evening when the light was soft, walking around my own neighborhood. Before each frame I took a reading with a light meter and tried to get used to the reversed image on the viewing screen. Shooting from the waist let me interact with people more easily; the camera attracted very little attention.
| Topic | Analog |
|---|---|
| Highlights | film photography, lens, darkroom |
| Reading time | 7 minutes |
| Written by | Ethan Brooks |
Key takeaways
- The flea-market camera was freed up with gentle cleaning and a little oil.
- Light leaks were found with a flashlight in a dark room and sealed with tape.
- The first roll produced eight sharp, deeply toned medium-format frames.
When I scanned the negatives and saw the first frames, I could hardly contain my excitement. Four frames had a slight red cast from light leaks, but eight were sharp, richly toned and detailed. The large area of the medium-format negative gave skin tones and shadows incredible depth. This camera is now in its second life, continuing to gather new stories with me.
What do you think about this post?
Leave a comment