

























































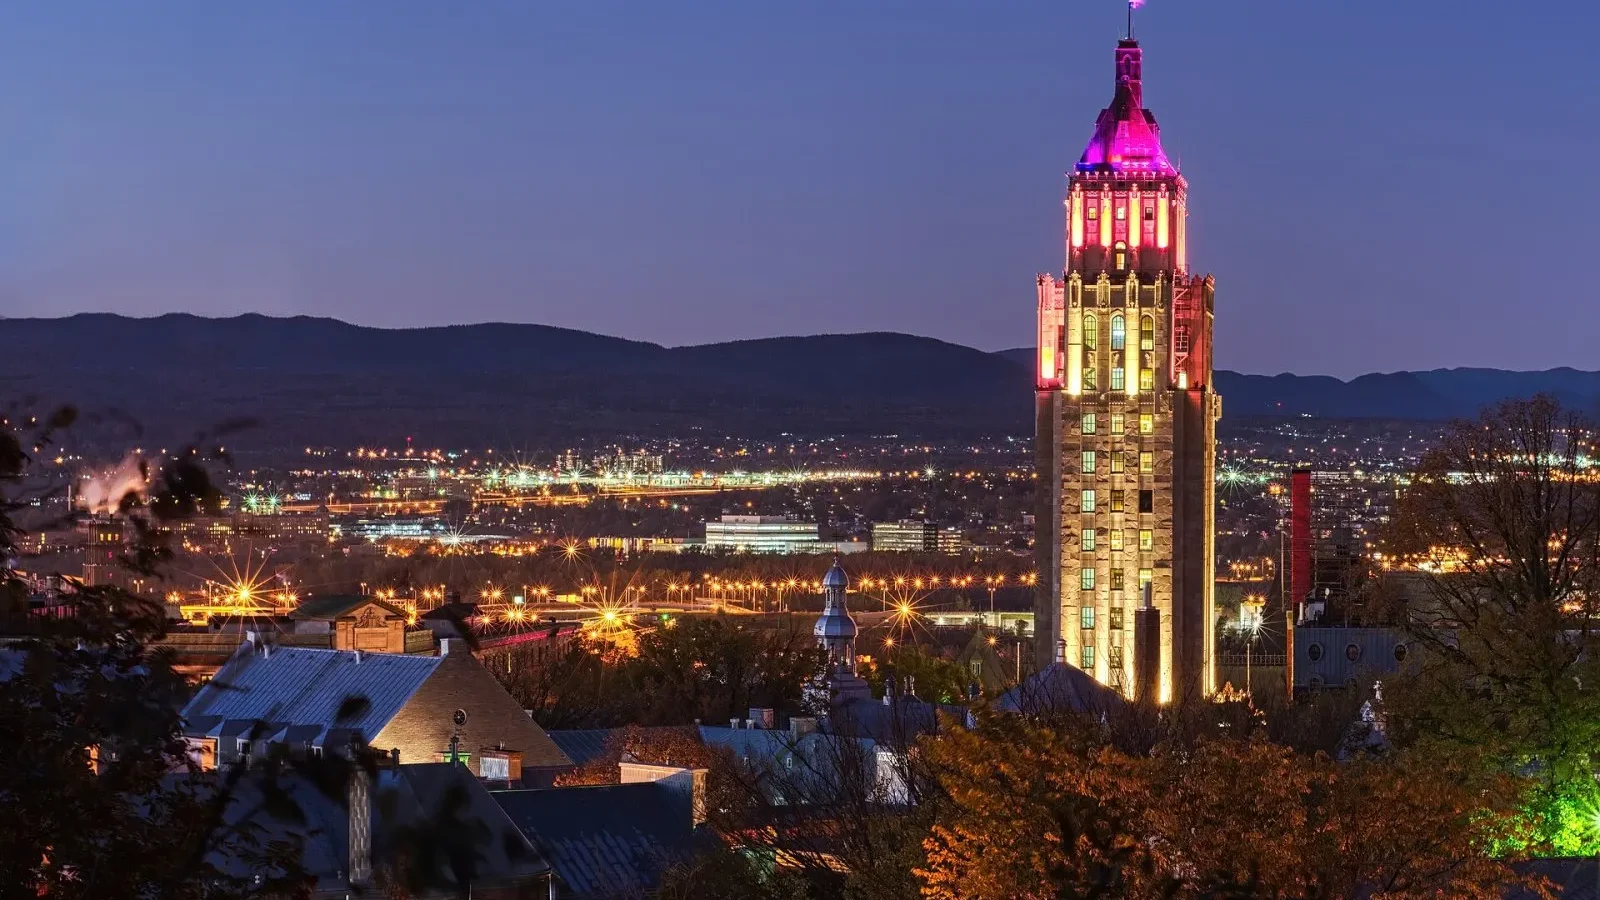
After the sun goes down, the city takes on a whole new identity. Streetlights, shop windows, headlights and building illuminations create a mesmerizing palette for night photography. But taking striking frames in low light calls for a different approach than shooting by day. With a sturdy tripod, long-exposure technique and a little patience, you can capture striking frames from light trails to reflections on wet sidewalks. Here are the methods I use for night shoots.
In this article
- The right gear and settings
- Light trails and reflections
- Don't miss the blue hour
The right gear and settings
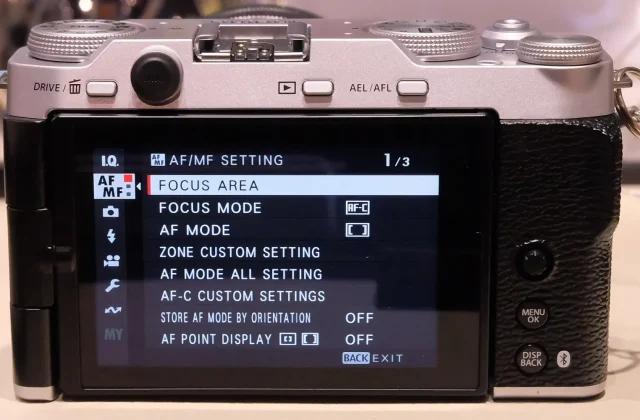
For night shooting, a sturdy tripod is non-negotiable. No handheld camera can produce a sharp frame during a long exposure, so it's worth investing in a tripod's sturdiness and stability in the wind. A remote shutter or two-second timer prevents the shake caused by pressing the button. If your camera has image stabilization, turning it off on a tripod is also a good habit.
As a starting point for settings, try a combination of ISO 100, f/8 and a shutter speed of around ten seconds. Shooting in RAW lets you correct bright lights and shadows later. Use manual focus and check sharpness by zooming in on a distant light in live view. You can adjust white balance later to suit the frame.
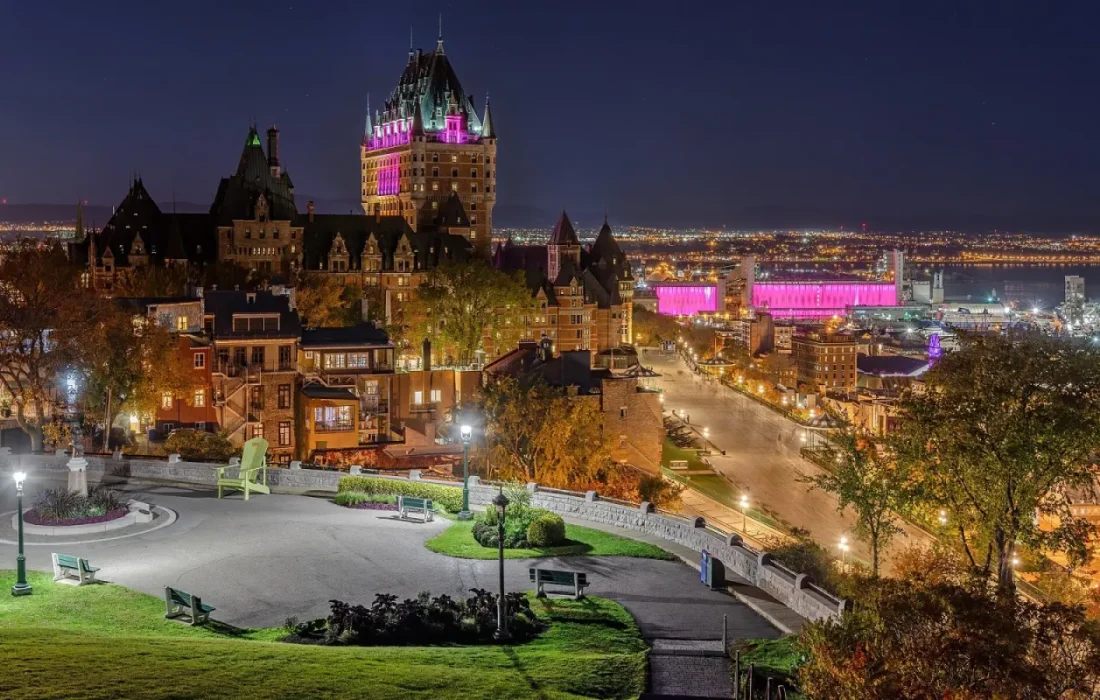
Night is when the city shows its true colors.
Sarah Bennett
Light trails and reflections
A bridge, an overpass or a high window is ideal for shooting light trails. Set up your tripod at a spot overlooking a road with moving traffic and raise the shutter speed to twenty or thirty seconds. Headlights and brake lights will turn into long red and white streaks. Using the curve of the road in your frame strengthens the flow of the lines.
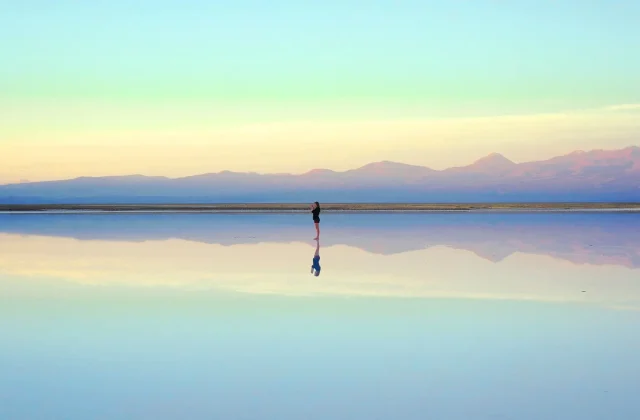
Reflections appear on wet ground and glass facades. A city after rain offers an especially rich opportunity for night photography. By the water, on a bridge or at a harbor, building lights reflect on the surface in long columns. The longer the exposure, the smoother the water becomes, giving the scene a silky look.
Don't miss the blue hour
The blue hour is the twenty to thirty minutes after sunset. The sky is still a deep blue and the city lights have started to come on. This is when you best capture the balance between the sky and the building lights. A completely dark sky creates a black void in the frame, while the blue hour adds color and depth.
| Topic | City |
|---|---|
| Highlights | night photography, light, composition |
| Reading time | 7 minutes |
| Written by | Sarah Bennett |
Key takeaways
- A sturdy tripod and a remote shutter are the foundation of night shooting.
- A twenty- to thirty-second exposure turns car lights into long colored streaks.
- The blue hour gives the best balance between the sky and the city lights.
To avoid missing the blue hour, you need to get to your spot before sunset and set up your frame. Take your first frames at sunset and your last before the sky goes completely dark. If you patiently work with several different exposures, you can record the changing light on the same scene as a series. That series lets you pick the best frame or blend exposures later in editing.
What do you think about this post?
2 Comments
Really useful piece, thank you for putting it together.
I had never thought about this side of it. Looking forward to a follow-up.