

























































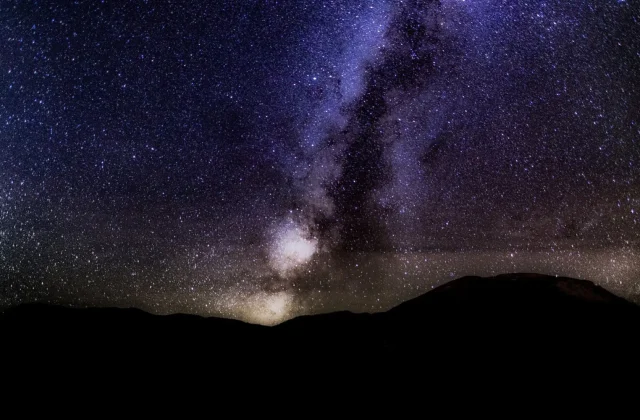
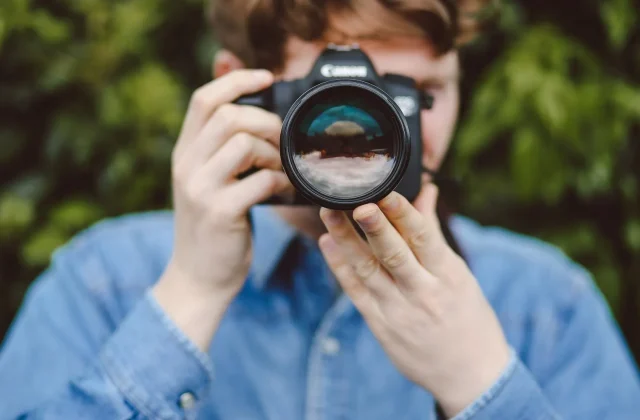

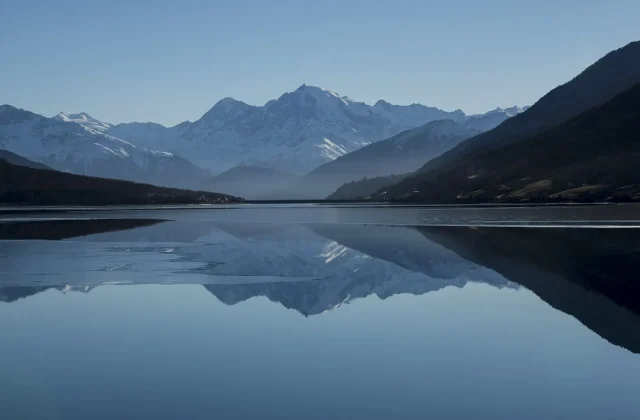
One of the questions I get most from readers is how I edit my photos. In this video I show every step I take to bring a photo I shot at sunset in Istanbul from its raw state out of the camera to its final version. I explain every stage of my workflow, from importing and culling to white balance and exposure adjustments, and from color grading to local masking. At the end of the video, I also explain how to avoid common editing mistakes.
In this article
- Importing and culling
- Basic adjustments and color
- Local adjustments and export
Importing and culling
My workflow starts with importing. When I insert the card into the computer, I first copy the files into folders by date and at the same time copy them to a backup drive. This step may seem tedious, but when a memory card fails, the backup is a lifesaver. While importing, I also add my copyright information and basic keywords.
Moving fast is important at the culling stage. In the first pass, I only eliminate frames that are definitely unusable in terms of sharpness, exposure or composition. In the second pass, I put the remaining photos side by side and flag the best ones. If there are several frames of the same scene, I keep only the strongest. This discipline saves a serious amount of time in the later stages.

A good edit goes unnoticed; it just makes you feel the photo more.
Ethan Brooks
Basic adjustments and color
I begin editing with profile and lens corrections, then white balance. I set white balance by clicking on a neutral gray area or with the slider; the goal is a temperature that suits the mood of the scene. Then I balance the tonal range of the image with exposure, highlights and shadows. Making the easy decisions first and the hard ones later keeps the process both fast and consistent and saves editing energy for the truly valuable frames.
At the color stage, I use vibrance rather than saturation, because vibrance boosts muted colors while protecting skin tones. Then, in the HSL panel, I only touch specific color channels, such as deepening the blue in the sky or slightly desaturating the greens. These subtle touches give a far more natural result than a global saturation boost.
Local adjustments and export
Local adjustments define the photo's point of focus. With a radial mask I gently brighten the area around the subject, with a linear mask I darken the sky and with a brush I fill in some shadows. Each mask looks natural when kept subtle; exaggerated masks make the scene look artificial. I keep checking the edit both in a small window and at full size. This order creates a clean editing logic where each adjustment builds on the one before.
| Topic | Editing |
|---|---|
| Highlights | editing, light, RAW |
| Reading time | 6 minutes |
| Written by | Ethan Brooks |
Key takeaways
- Copying with a backup and culling in two passes saves time.
- Fine color adjustment with vibrance and HSL instead of saturation gives a more natural result.
- Masks look natural when kept subtle; export is set according to purpose.
For export, I adjust settings according to the intended use. For the web I set the long edge to 2,000 pixels; for print, full resolution. I apply sharpening according to the output type and choose a color profile suited to screen sharing. At the end of the video I also list the most common mistakes: oversharpening, oversaturation and an uncorrected horizon.
What do you think about this post?
Leave a comment