












































Zenit OS 12 clean install guide: Step by step from scratch
The most effective cure for a slow computer is often a clean install. We cover every step, from backing up and creating a bootable drive to partitioning your disk and activation.
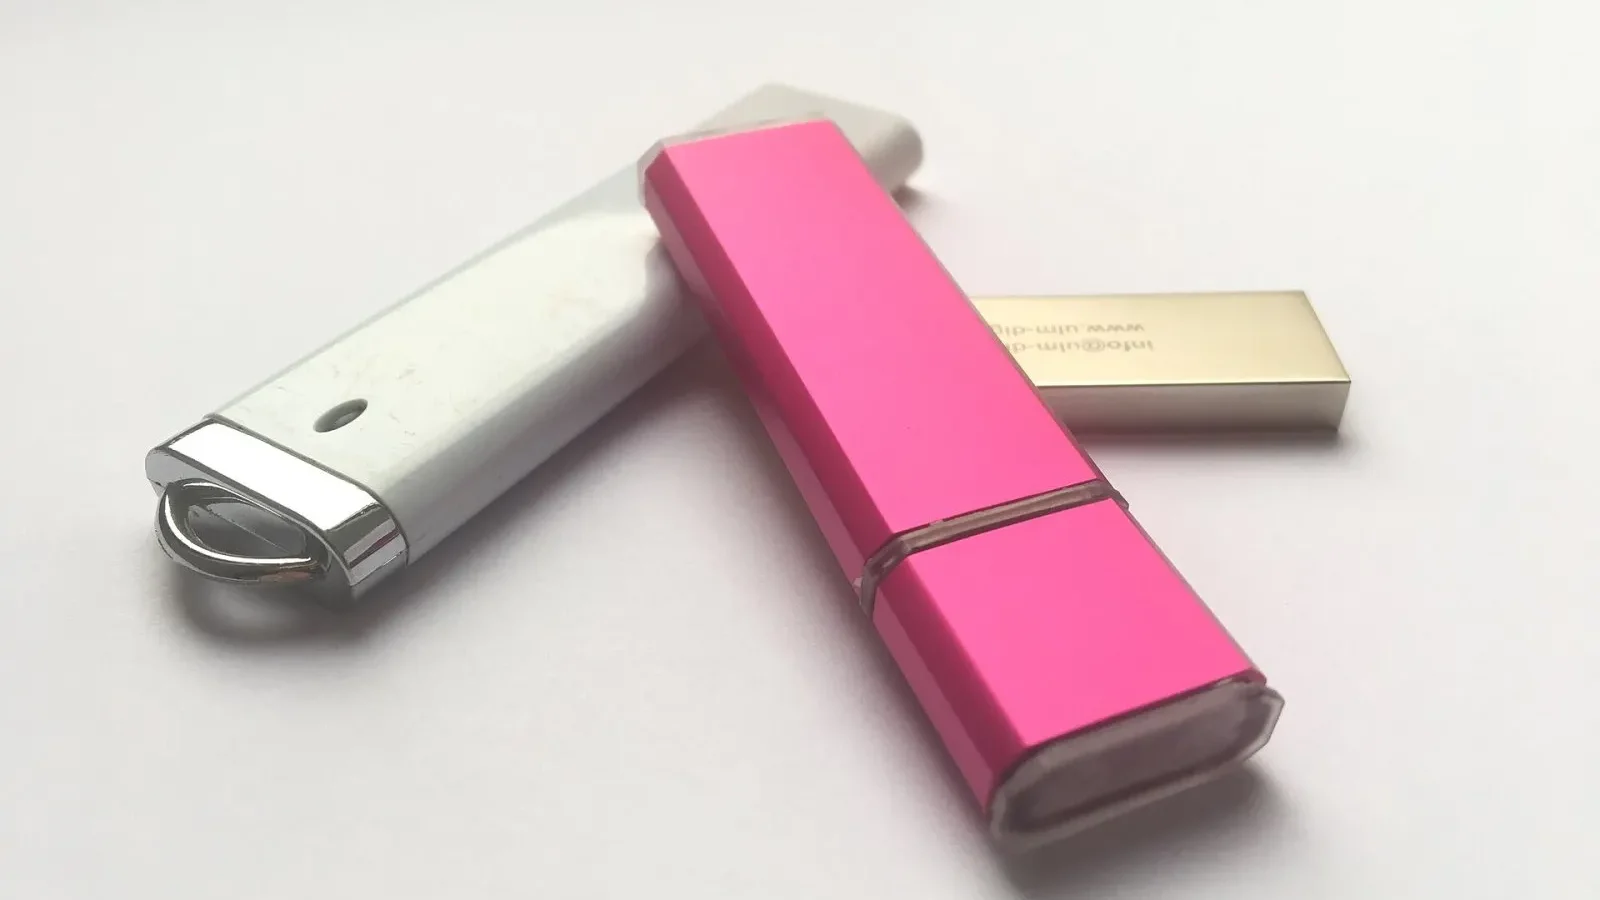
Table of contents
Programs piled up over the years, outdated drivers and unnecessary startup items can weigh down even the fastest computer. A clean install, which loads the operating system from scratch, is the most effective way to restore your computer's day-one agility. In this guide, we walk through every step needed to reinstall Zenit OS 12 on a laptop or desktop, in order. With the right preparation, the process takes less than an hour and you won't lose any data.
Preparation and backup before installing
A clean install wipes everything on the disk and loads the operating system from scratch, so the first and most important step is backing up. Copy your Documents, Desktop, Downloads and Photos folders to an external drive or a cloud backup service. Export your browser bookmarks and save your email client's data file separately. Also jot down the license keys and account details for the programs you use; you'll need to reactivate them after the install. If you use an automatic tool like Archivist Cloud Backup, don't forget to check that the latest backup has finished.
Once the backup is done, note down your computer's hardware details: motherboard or laptop model, graphics card and wireless adapter. If you can't get online right after the install, this information lets you download drivers from another computer. Zenit OS 12 needs at least 4 GB of RAM and 64 GB of free space, but for a comfortable experience we recommend 8 GB of RAM and an SSD. Finally, make sure your license key is ready in your email or on the My Licenses page of your LicenseKeep account.
Half of a clean install is the preparation you do beforehand.
Jake Morales
Bootable drive and disk partitioning
For the installation, you'll need an empty USB drive with at least 8 GB of capacity. Download and run the media creation tool from Zenit's official download center, choose your edition and language, and select your USB drive as the target. The tool downloads the files and makes the drive bootable; this takes fifteen to thirty minutes depending on your internet speed. When the drive is ready, restart your computer and press the key that opens the boot menu during startup to boot from the USB drive. The key varies by manufacturer and is usually shown briefly at the bottom of the screen.
After you choose your language and keyboard layout in the setup wizard, you'll be asked for a license key; you can enter it now or skip it for later. Choose Custom as the installation type. Your existing partitions will appear in the disk list. For a clean start, delete every partition on the system disk one by one, then select the unallocated space and continue; the wizard creates the partitions it needs by itself. If your computer has a second disk where you store data, make sure you leave it untouched. Double-checking that you've picked the right disk by its size prevents the most common mistake.
First boot, drivers and activation
After the files are copied and the computer restarts a few times, the first-boot screen appears. Set your region, keyboard and network, then create your user account. You'll see privacy options at this stage; you can turn off location, diagnostic data and personalized ads as you see fit. Once you reach the desktop, the first thing to do is open Updates in Settings and install every update. Zenit OS fetches most drivers automatically this way; for specialized drivers such as graphics, use the manufacturer's official page.
| Topic | Setup Guides |
|---|---|
| Highlights | clean install, operating system, license key |
| Reading time | 8 minutes |
| Written by | Jake Morales |
Key takeaways
- Back up all personal files and license details before installing.
- Prepare the bootable drive only with the official media creation tool.
- When deleting partitions, confirm you've chosen the right disk by its size.
If you didn't enter your license key during setup, go to Settings, System and Activation, then enter the 25-character code with Change product key. As long as you're online, activation completes within seconds. As a final step, restore the files you backed up and reinstall your programs from their official sources. Once everything is set up, we recommend creating a system restore point; if you run into trouble later, you can return the computer to this clean state in a few minutes. To create one, simply open System Protection in Settings and click Create.

2 Comments
Really useful piece, thank you for putting it together.
I had never thought about this side of it. Looking forward to a follow-up.