










































Web3 developer workshop: Your first step toward writing smart contracts
In this workshop guide for readers with basic programming experience, we walk through the steps of writing and deploying your first smart contract on a testnet.
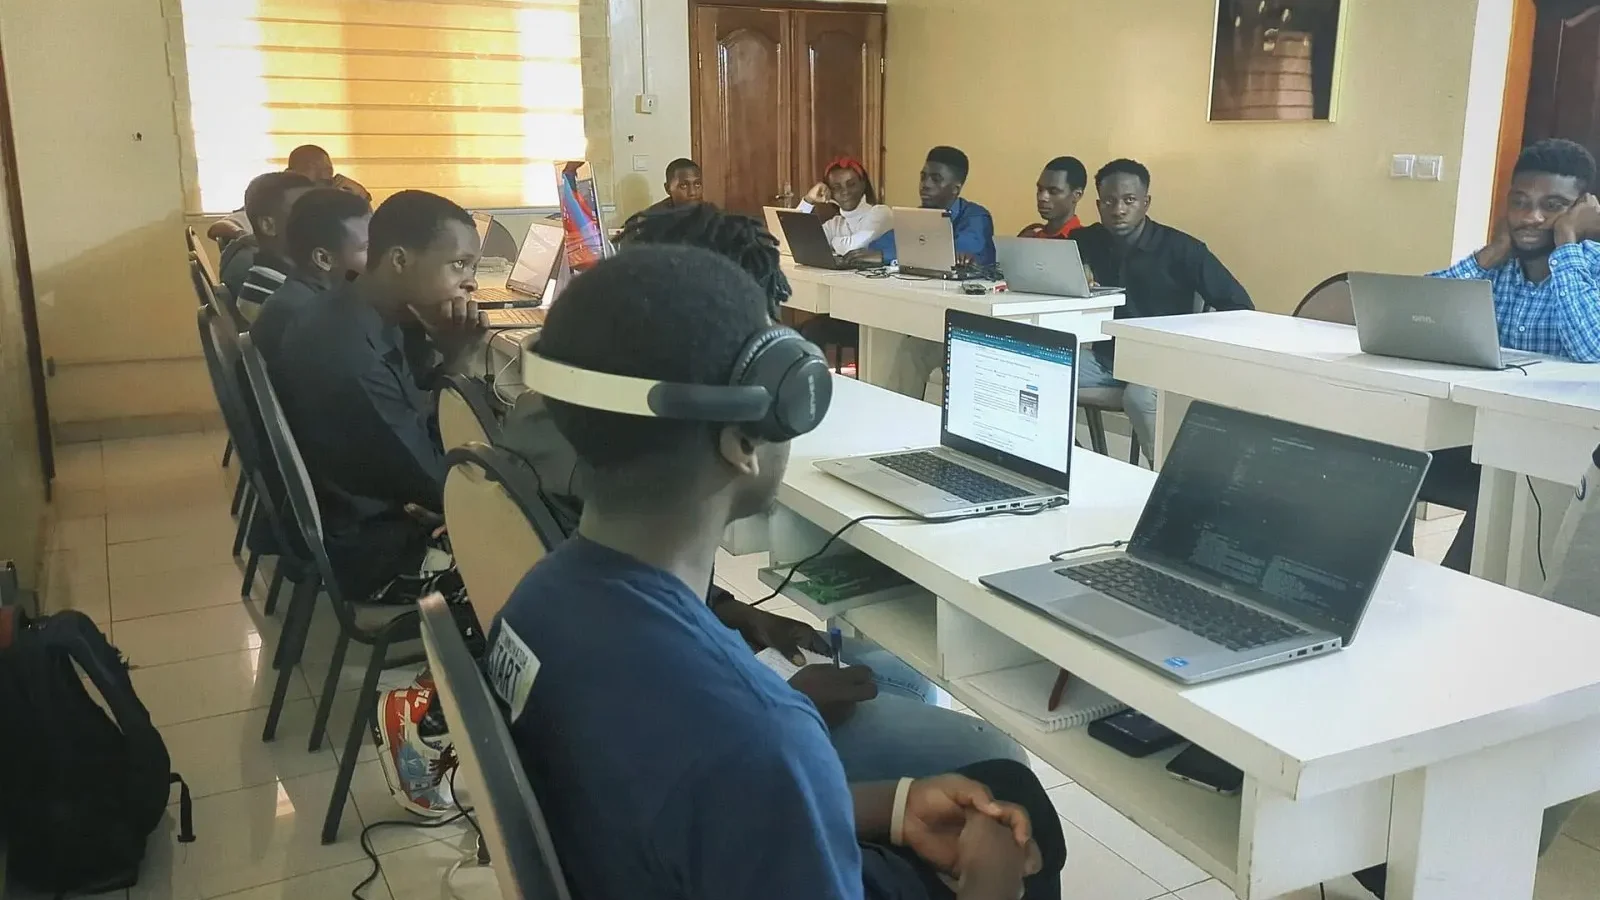
Table of contents
As demand for developers in the Web3 ecosystem grows every year, the number of people who want to learn smart contract development is rising fast. In this guide, we explain in plain language every step for readers with basic programming knowledge, from setting up a development environment to deploying a first contract on a testnet. We also stress why it is critical to experiment on testnets before working with real assets. Finally, we touch on the importance of having your code audited for security and the mistakes beginners often make.
Setting up the development environment
The first step in our workshop is installing the necessary tools on your computer. Essentially, a code editor, a development framework and a tool that compiles the contract language are all you need. Most frameworks let you create a sample project and launch a local test environment with just a few commands. Once setup is complete, you can work with a test account loaded with fake balances.
Creating a separate development wallet that holds no real assets is crucial. Don't mix this wallet up with your main account, and never upload its recovery words to code repositories or sharing platforms. You can get testnet tokens from a faucet page and track your transactions on a blockchain explorer. This separation prevents, from the start, one of the most common and most costly mistakes beginners make.

A good smart contract is one that has already failed hundreds of times on a testnet.
Sophie Laurent
Writing and testing your first contract
Our first contract is simple: a small program that stores a message and allows that message to be changed. When writing the contract, we define variables, functions and access rules. For example, we add a simple permission check so that only the contract owner can change the message. This small example is an ideal starting point for getting to know the concepts of variables, functions and events that underpin more complex contracts.
After compiling, we deploy the contract first in the local environment and then on a public testnet. By writing automated tests, we check how the contract behaves against unexpected inputs: when an unauthorized user tries to make a change, the transaction should be rejected. We remind beginners that running into errors is a natural part of learning. Seeing every test pass gives you your first confidence that the contract behaves as expected, along with the motivation to keep learning.
Why security audits matter
Once a smart contract is deployed, its code cannot be changed, so bugs can be permanent, and in contracts that hold real value this can have costly consequences. Before going live, developers combine tests, static analysis tools and independent code review. These three layers uncover bugs that none of them would catch on its own.
| Topic | Web3 & AI |
|---|---|
| Highlights | smart contract, Web3, Ethereum |
| Reading time | 9 minutes |
| Written by | Sophie Laurent |
Key takeaways
- Start by working with a separate development wallet and a testnet.
- Write automated tests against unauthorized access before deploying the contract.
- Deployed code can't be changed; real assets require a professional audit.
Common beginner mistakes include forgetting permission checks, overlooking integer overflows and placing too much trust in externally called contracts. Choosing proven, community-audited libraries over code written from scratch also reduces risk. A professional audit is essential for any contract that will handle real assets; the example in our workshop is for learning purposes only.
What do you think about this post?


Leave a comment