























































Stargazing from home: A beginner’s guide to choosing a telescope
From lunar craters to the rings of Saturn, we share tips, with photos, on choosing the right telescope to explore the night sky from home.
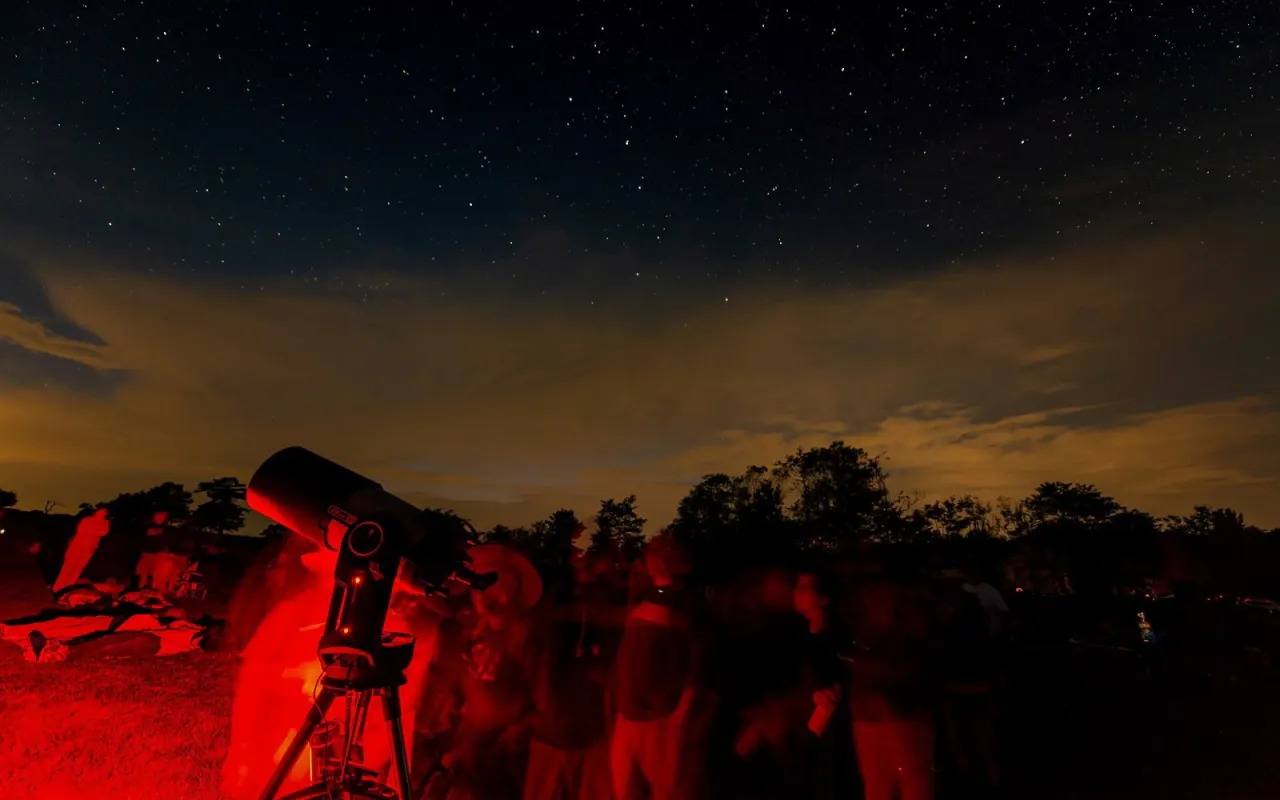
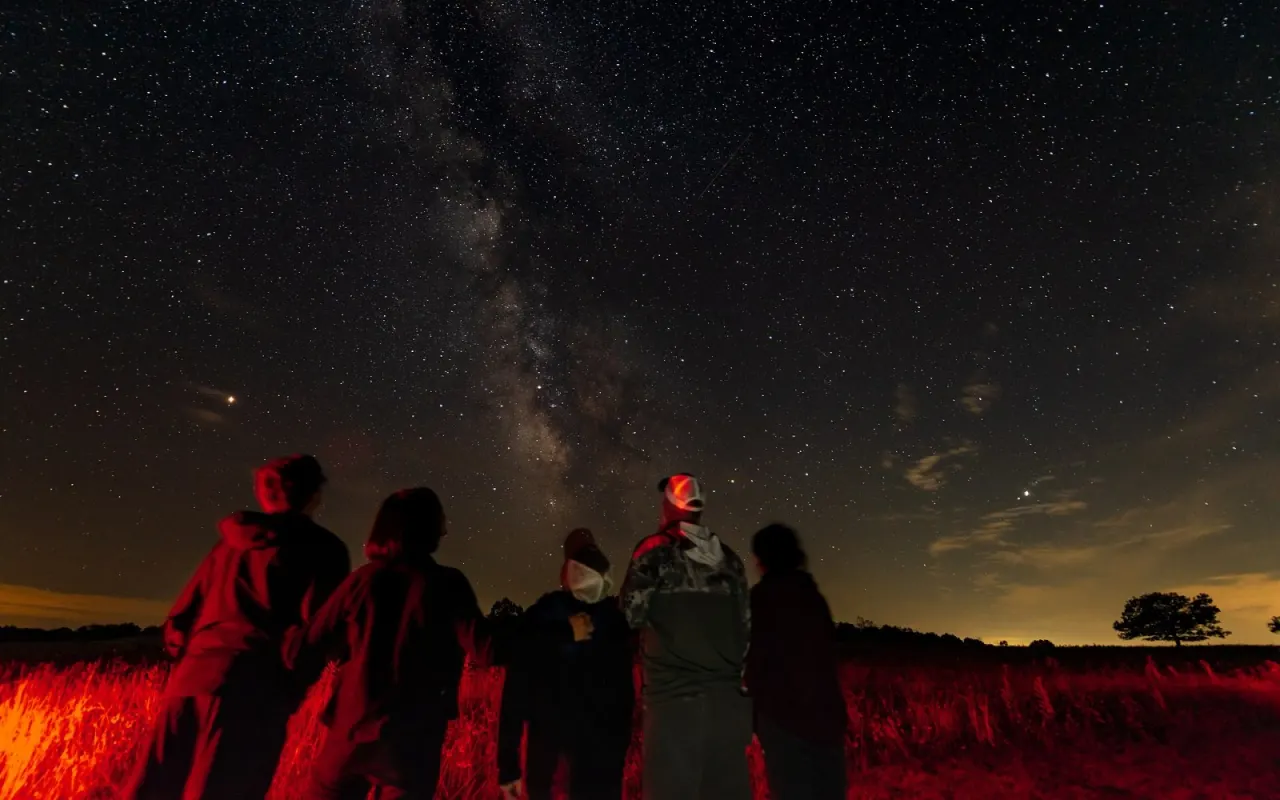
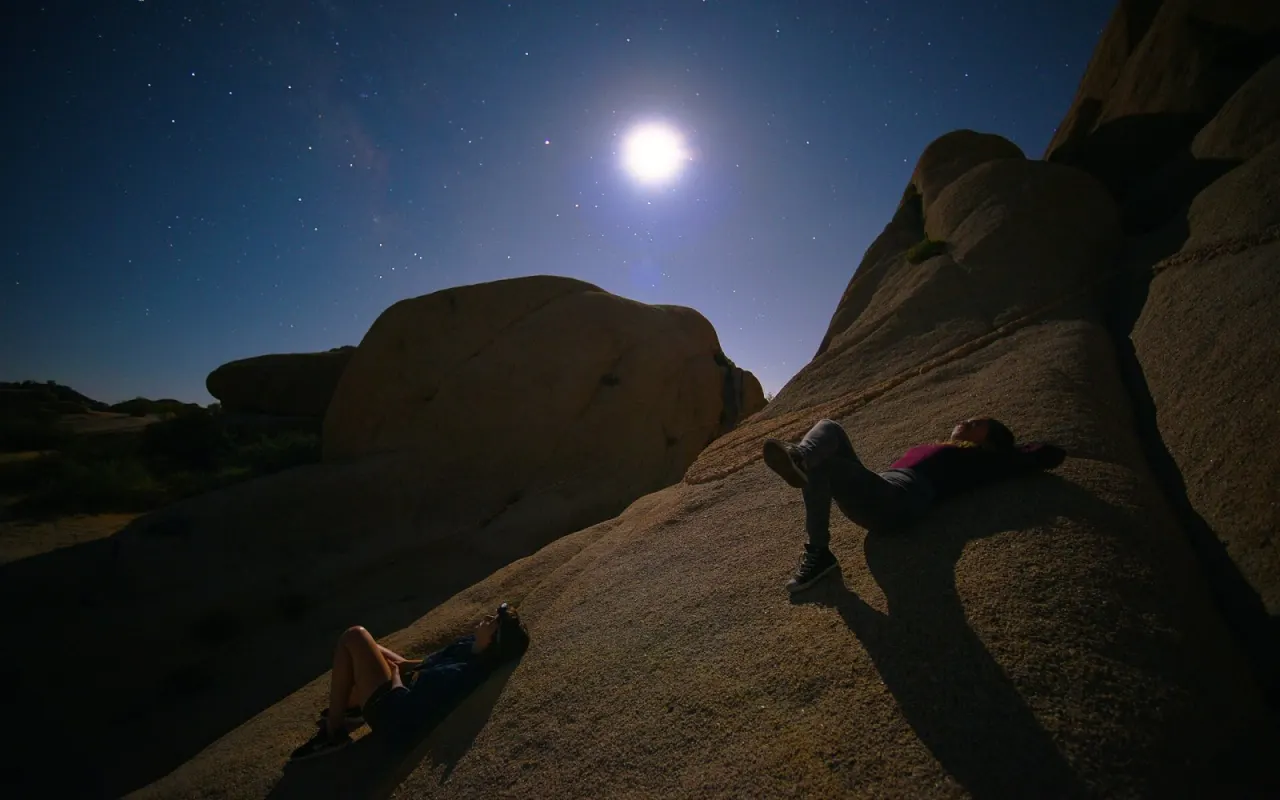
Table of contents
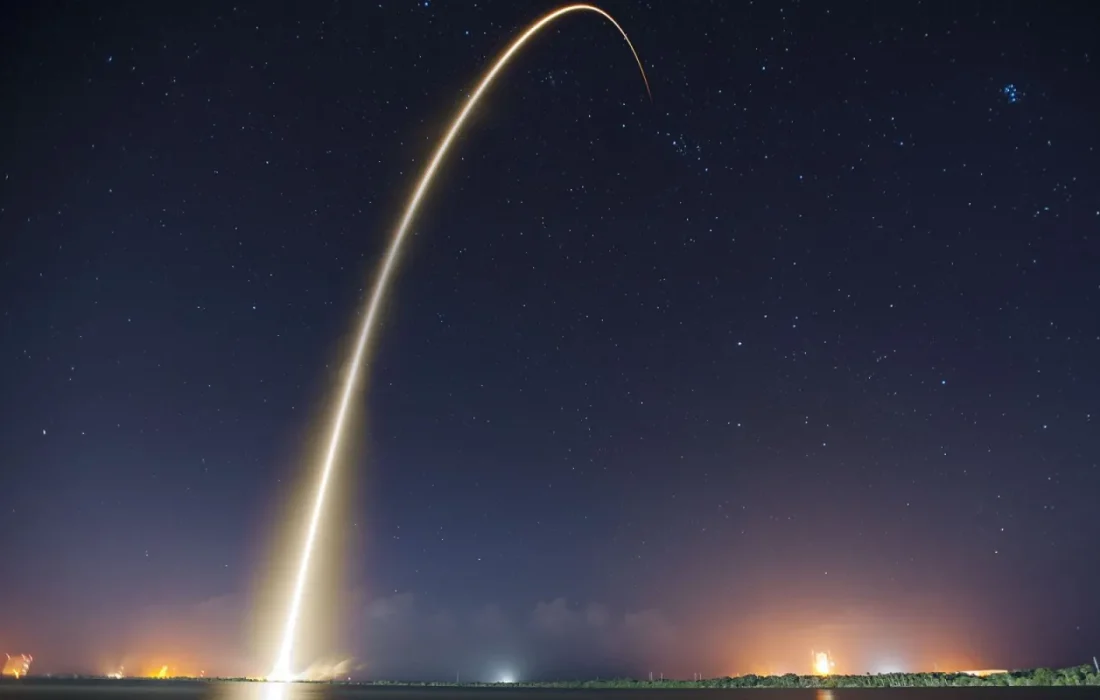
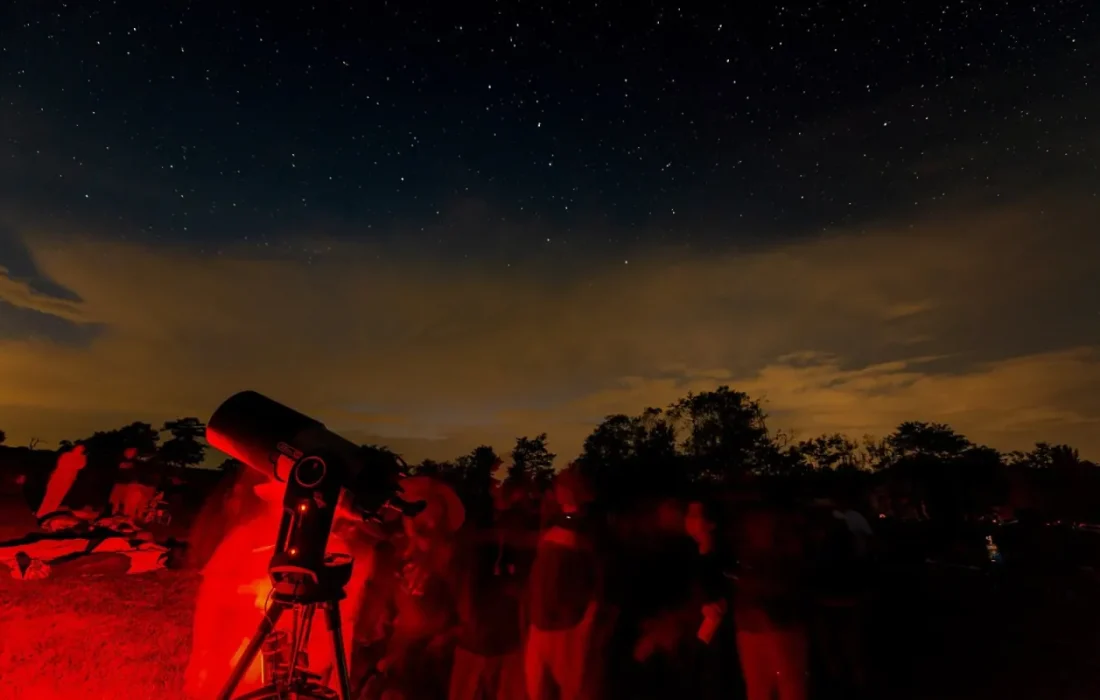
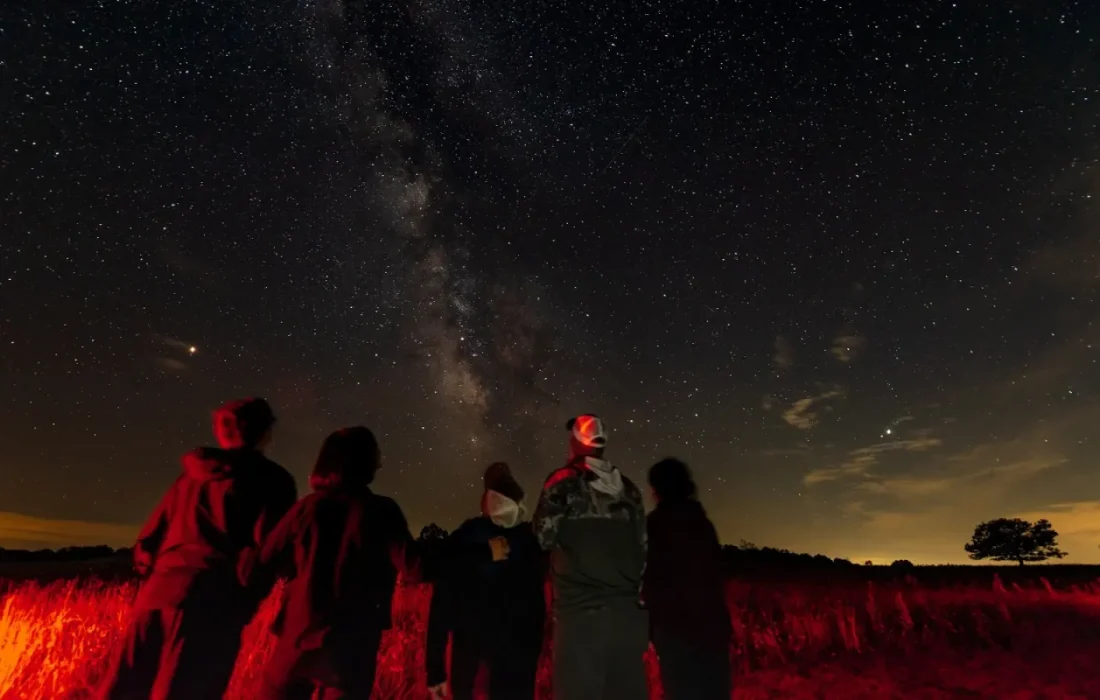
Stargazing has become an increasingly popular hobby among both children and adults in recent years. But choosing your first telescope can be confusing, thanks to the technical jargon and the huge range of products. In our guide, we explain the differences between refracting and reflecting telescopes, why aperture matters more than magnification and how a sturdy mount transforms the observing experience. Getting away from city lights lets you see far more celestial objects, even with the simplest telescope. We've also added a selection of observing photos sent in by our readers to the gallery.
Refractor or reflector?
Refracting telescopes, with their sealed tubes, don't collect dust, need no maintenance and deliver sharp images. They're ideal for observing the Moon and planets, but cost more for the same aperture. Reflecting telescopes, on the other hand, offer much larger apertures for the same budget and excel at capturing faint objects. Because they occasionally need their mirrors realigned, they ask for a little care from the user.
A telescope's power is determined not by magnification but by aperture, because the more light it gathers, the more detail you see. Don't be fooled by inflated figures like 500x magnification on the box. For a beginner, an aperture between 100 and 150 millimeters offers an enjoyable, portable balance. What matters is how much light you gather.
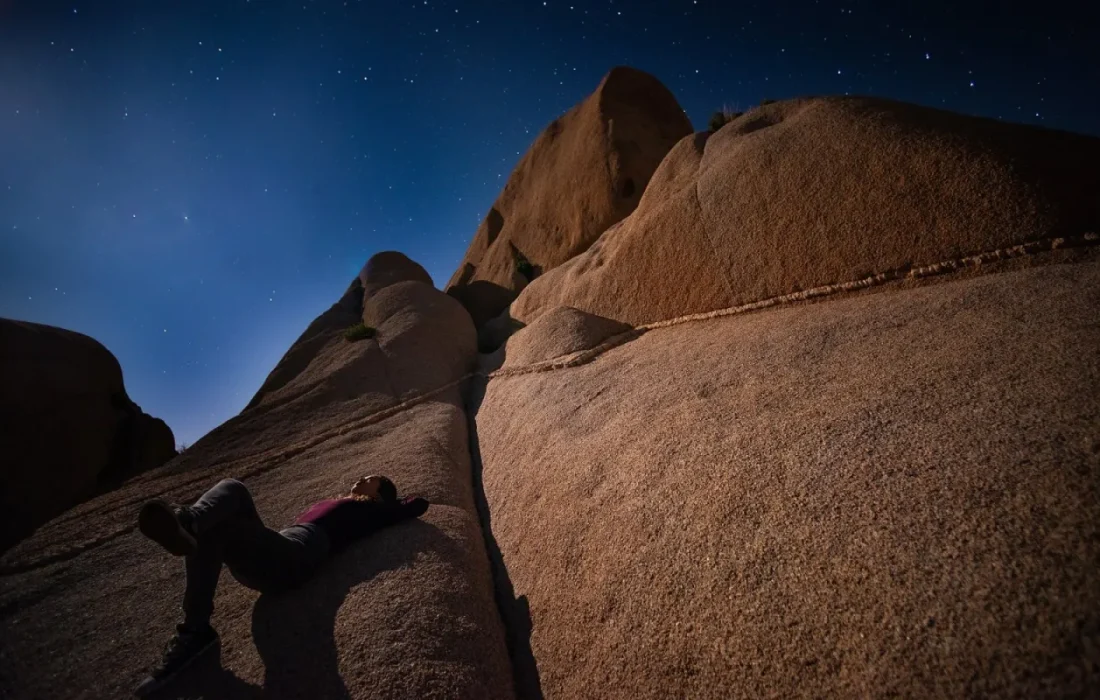
Seeing the rings of Saturn for the first time changes the way you look at the sky forever.
Ethan Brooks
Why does the mount matter?
The mount, the stand that holds the telescope, is the most critical and most often overlooked part. Even the best optics are useless on a wobbly mount; at high magnification, the slightest vibration blurs the image. Look for a simple, sturdy design: right-angle arms, easy-to-adjust axes and solid legs that extend to at least one and a half meters.
There are two types of mount. An altazimuth mount moves up and down and left and right, so it's intuitive and easy to use with children. An equatorial mount lets you follow a celestial object's motion along a single axis, making it suitable for those who want to take photos. For your first telescope, we recommend the simpler design; you can upgrade your gear as you gain experience. That way, the image stays steady even when you change magnification.
Escaping light pollution
Light pollution is the stargazer's greatest enemy. Getting just twenty to thirty kilometers away from the city center multiplies the number of stars you can see. Sky map apps help you choose an observing night by showing factors such as cloud cover and the phase of the Moon. The week around the new Moon is the best time for faint objects. The sky looks far more alive as a result.
| Topic | Science & Space |
|---|---|
| Highlights | space, how-to, camera |
| Reading time | 8 minutes |
| Written by | Ethan Brooks |
Key takeaways
- In a telescope, it's the light-gathering aperture that counts, not magnification.
- A sturdy mount has a direct impact on how much you enjoy observing.
- Escaping city lights shows you far more, even with the simplest telescope.
Before you start observing, wait twenty minutes for your eyes to adjust to the dark, and switch your phone screen to red-light mode. Dressing warmly is important, because stargazing means staying still for a long time. For your first targets, the craters of the Moon, the moons of Jupiter and the rings of Saturn are excellent choices. You'll find observing photos sent in by our readers in the gallery. Patience is the best part of this hobby.
What do you think about this post?

Leave a comment