






























































A first-week diary for anyone starting out with sourdough
We documented, day by day, the seven days from making a sourdough starter to pulling the first loaf out of the oven, including our mistakes and what we learned.
From the outside, baking sourdough bread looks like a complicated and intimidating process. Yet with just flour, water, salt and a little patience, you can bake a loaf with a crackling crust and an open crumb at home. Our editor Ben Young made a sourdough starter from scratch over a week and took notes at every step. In this diary we honestly share both the successful attempts and the story of the first loaf that came out flat.
In this article
- The first three days: Bringing the starter to life
- Day five: Meeting the dough
- Day seven: The first loaf
The first three days: Bringing the starter to life
We started our sourdough with a jar, whole wheat flour and water. Ben Young shows how, on day one, he mixed two tablespoons of flour with two tablespoons of lukewarm water and covered the jar loosely. The starter needs to sit in a corner at room temperature. It's normal to see no activity in the first days; the microorganisms take time to get going.
On days two and three, at the same time each day, we discarded half the jar and added equal amounts of flour and water. By the end of day three we noticed small bubbles and a slightly sour smell. Young says these first signs are promising. Being patient and keeping feeding times regular is the most important rule at this stage.
Sourdough teaches you patience first, and bread second.
Jake Morales
Day five: Meeting the dough
By day five, the starter doubles in volume in the jar a few hours after feeding. This is a sign that it's nearly ready. Young tried kneading his first dough. It was very sticky at first, but became easier to handle with the wet-hands folding method. As the dough rested, its structure grew stronger. Taking things slowly makes life easier for everyone at this point.
Our first mistake here was adding too much flour, which made the dough stiff. Young points out that sourdough is naturally sticky because of its high water content, and that you should rely on folding with wet hands rather than adding more flour. Resting the dough overnight in the fridge both developed its flavor and made it easier to shape.
Day seven: The first loaf
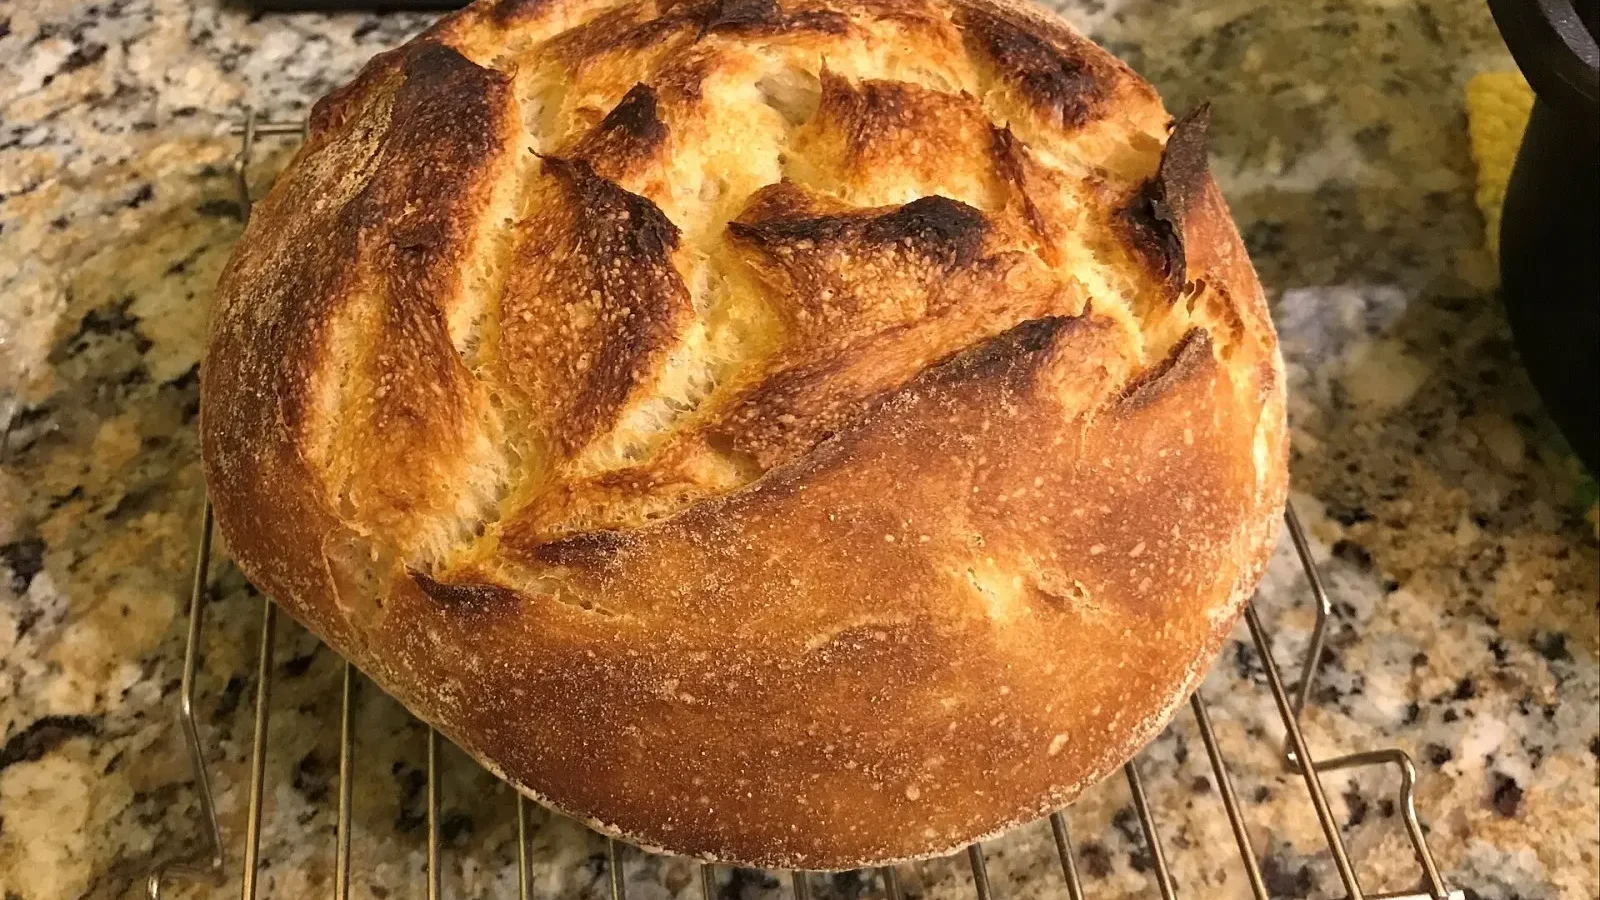
On day seven we put the first loaf in the oven. We heated the oven to 480°F (250°C) and baked the loaf in a lidded pot, covered for the first twenty minutes and uncovered for the next twenty. The steam trapped under the lid is what makes the crust crisp. When the loaf came out of the oven, the crackling of its crust rewarded a week of effort. To hear that sound, you need to let the loaf cool for at least an hour after baking.
| Topic | Food |
|---|---|
| Highlights | recipe, budget-friendly, inspiration |
| Reading time | 8 minutes |
| Written by | Jake Morales |
Key takeaways
- The starter takes seven days of regular feeding and patience.
- Sticky dough is normal; folding with wet hands helps.
- Even an imperfect first loaf is a valuable part of the learning process.
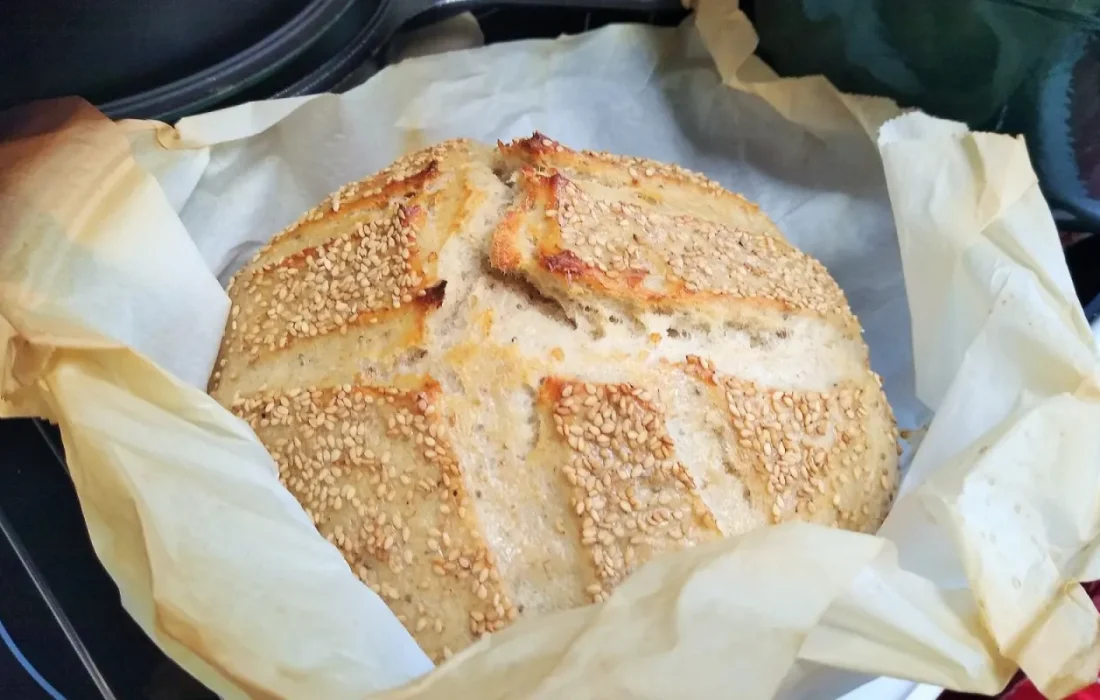
The first loaf didn't rise as much as we'd hoped; the crumb was a bit dense, but the flavor was wonderful. Young says this isn't a failure but part of the learning process. For his second attempt, he plans to use the starter at its most active and give the dough a longer rest. You can keep your own diary to note your mistakes too; every loaf turns out better than the last.



Leave a comment